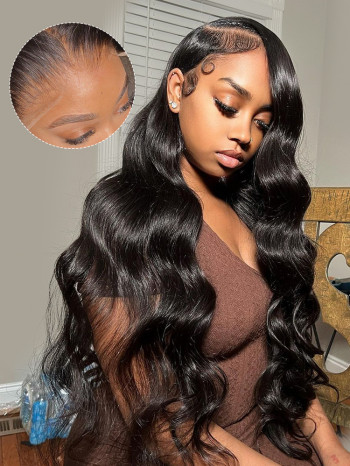


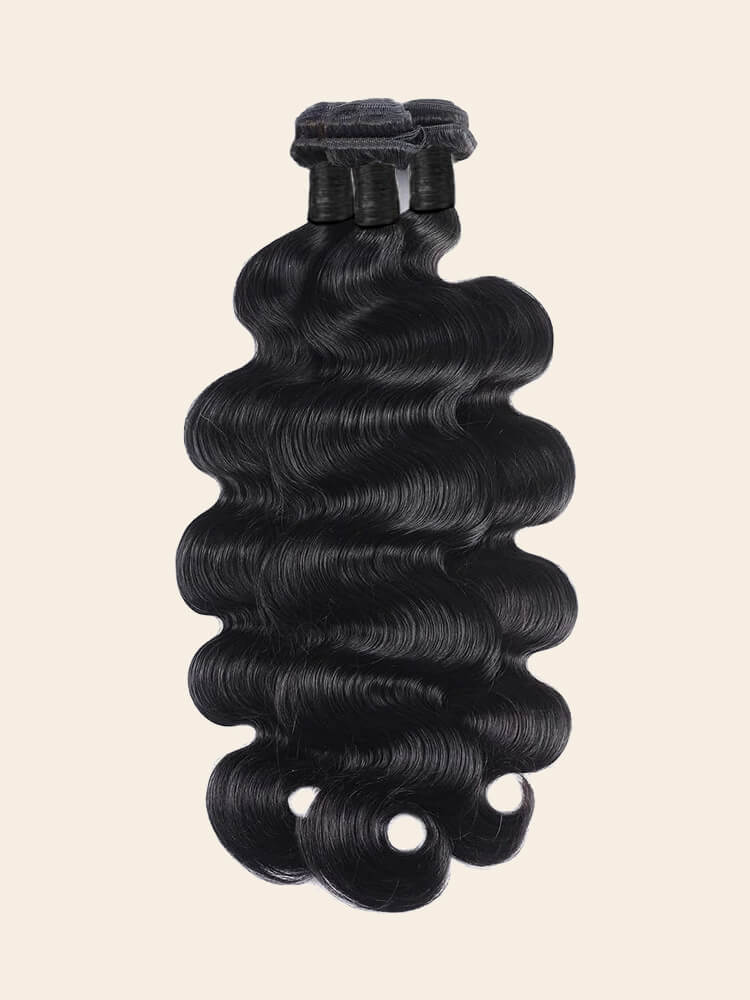
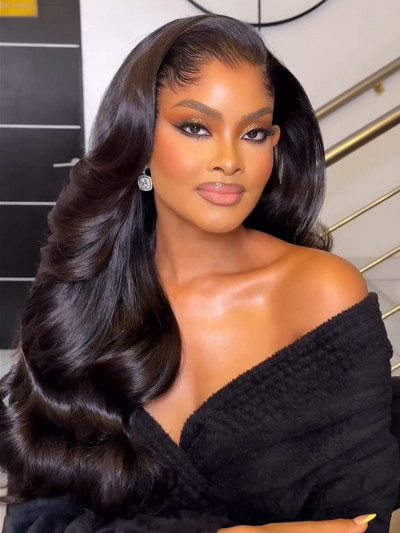
 Body Wave Bundles
 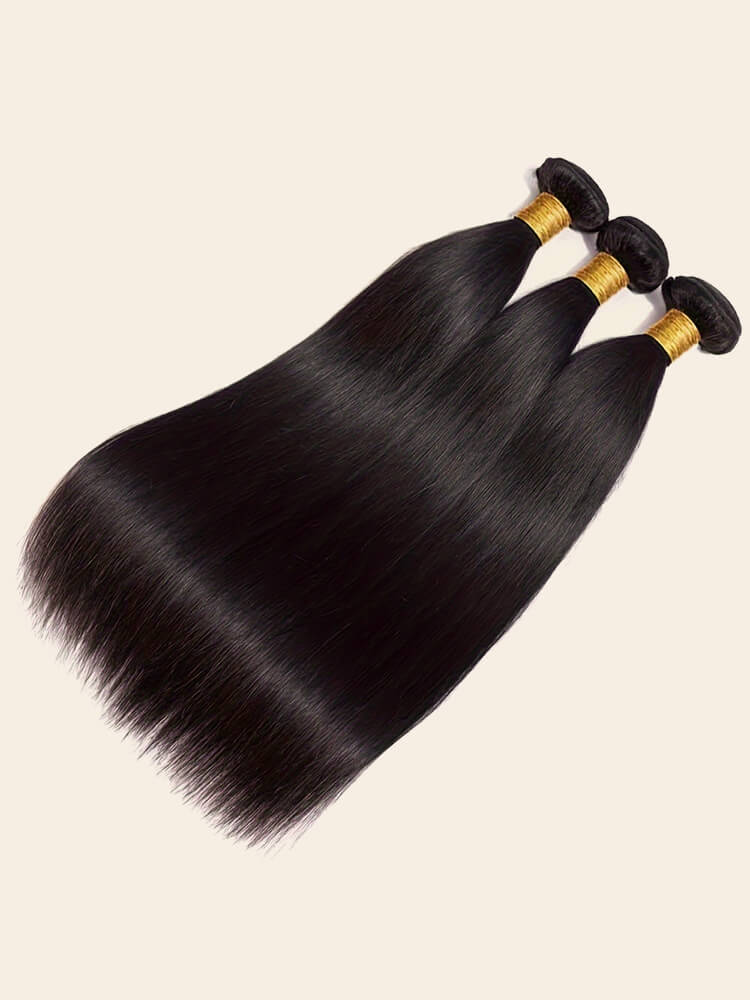 Straight Bundles
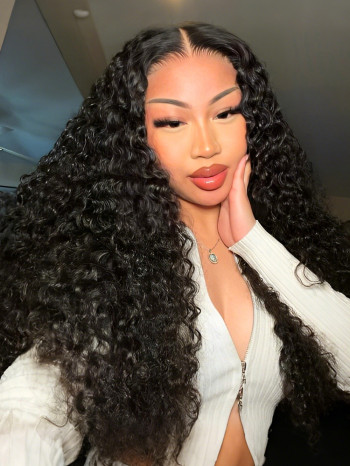
 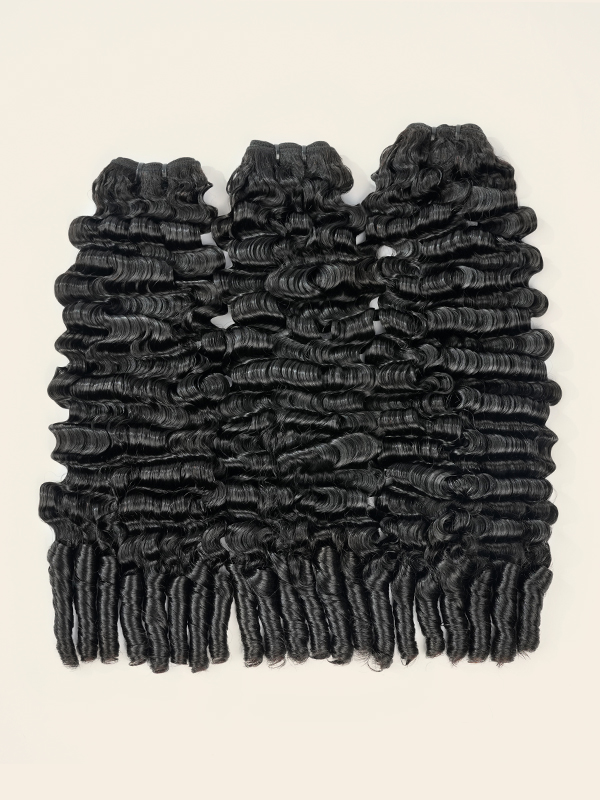 Curly Bundles
 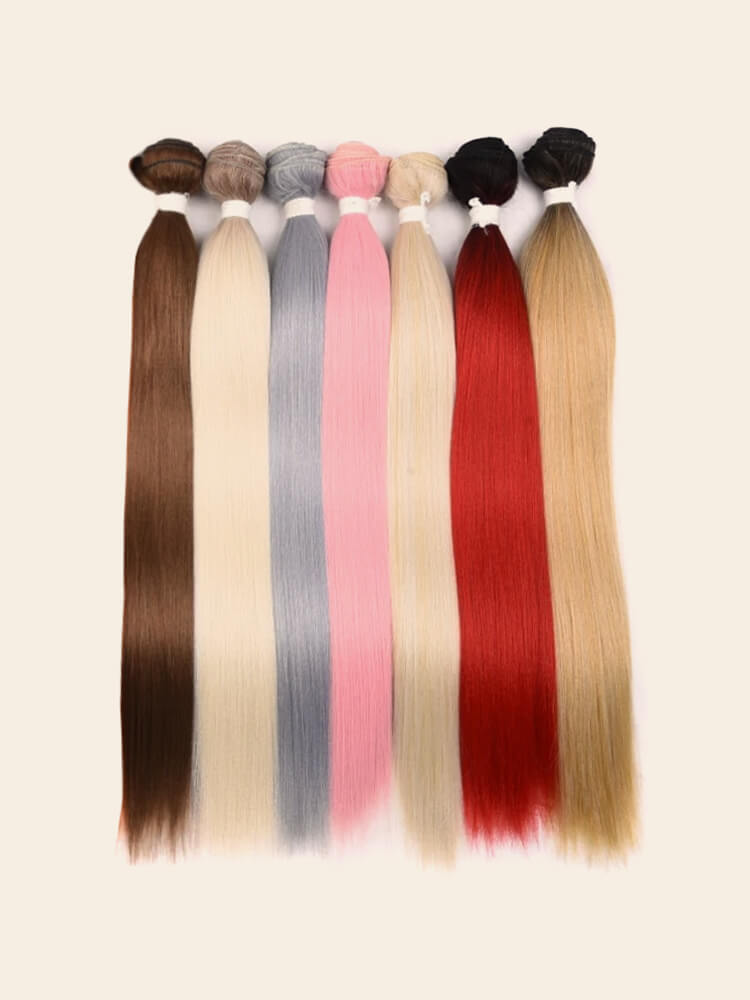 Colorful Bundles
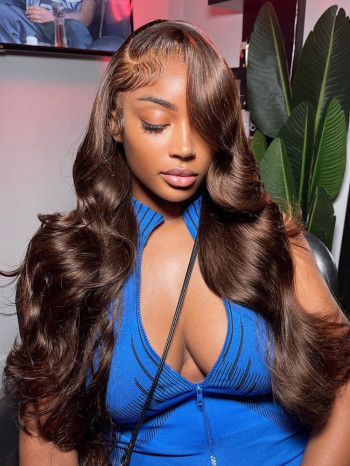
  Premium Raw Hair
  Closures / Frontals
 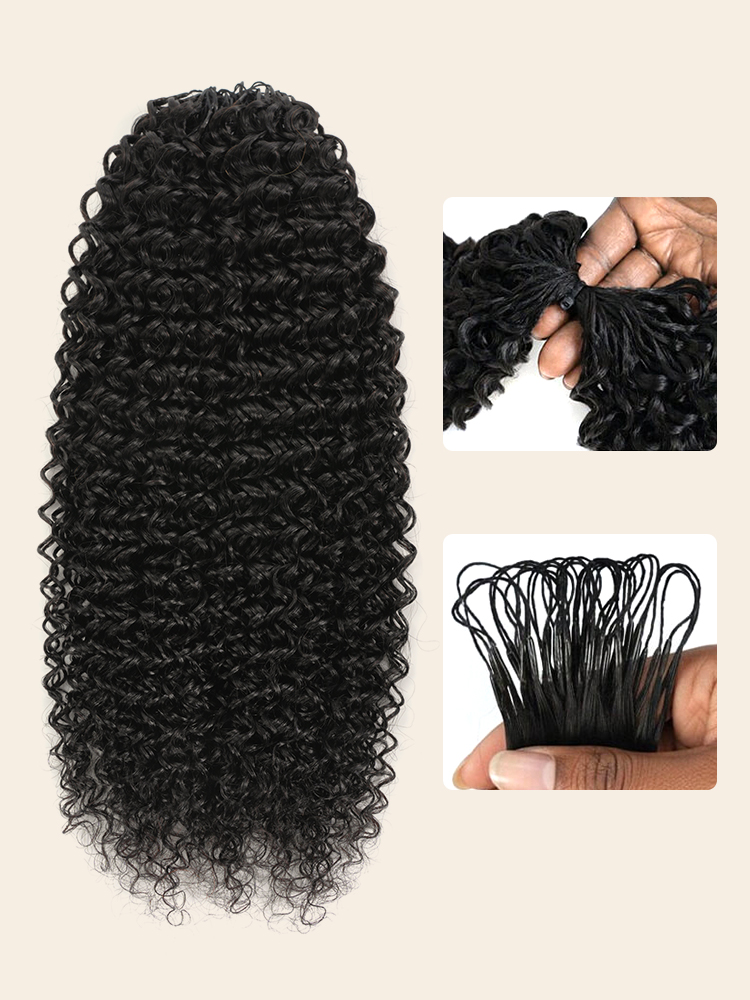 Hair Extension
 Limited Deals
 Ship In 24H
 Clearance Sale
 Flash Sale
 Wig Sets & Deals
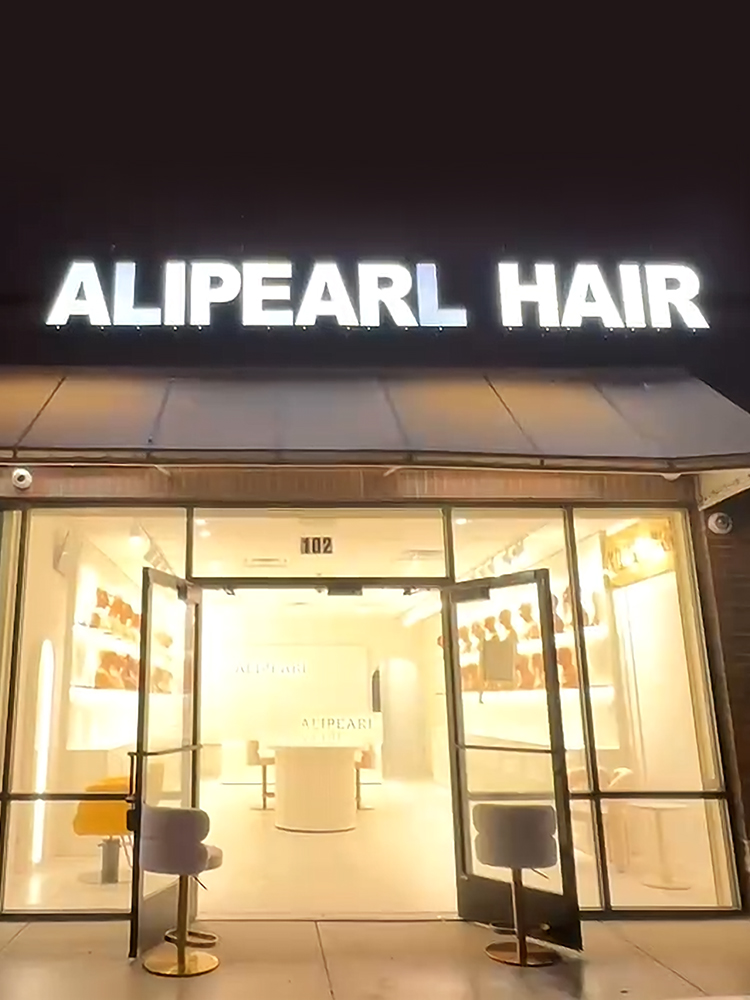 In-Person Stores
 Blogs
Blogs Invite & Save
 Track Order
 VIP Perks


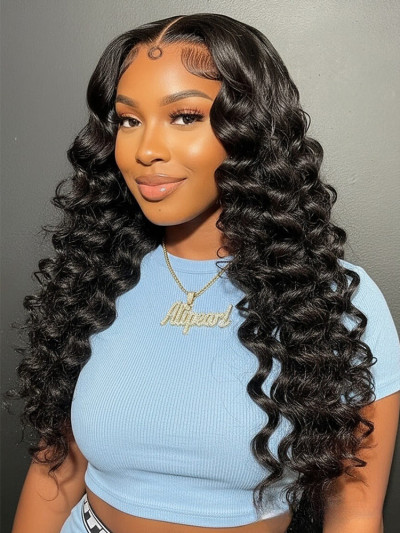
How to DIY Front Bang Curly Top Wig: Step By Step
More and more people are exploring how to DIY the front bang and curl the top wig. You can create a hairstyle that suits your style. It is comfortable and natural to do it yourself. Front bang curl top wig can enhance the overall fluffiness, and it can cover the hairline and sparse roots as well. This type can present a natural and dynamic visual effect that reduces age. DIY is full of fun. It can also save budget, meeting your requirements. This article will focus on "how to diy front bang curly top wig" to help you easily complete this creative hairdressing project.
Front Bang Curly Top Wig
A front bang curly top wig has a few standout features. First, its partial coverage design focuses only on the top of the head, making it lightweight, breathable, and perfect for everyday wear. The soft, natural-looking bangs help frame the face and add a youthful touch.
The curly texture adds volume and movement, giving the hair a fuller, more dynamic look. It’s also easy to put on and secure, typically using clips or Velcro. This style is especially great for those experiencing hair thinning, low volume at the crown, or simply looking for a fresh style update.
Prepare Tools and Materials
Before starting DIY, it is necessary to prepare some tools and materials.
The wig cap is the basic structure of a wig. You can choose between a half-head or top style. That depends on the area you want to cover. It is recommended to use a black mesh cap with good elasticity and strong breathability.
Curly Hair Bundles can be made of synthetic fibers or real hair, which depends on your budget and needs.
To prepare bangs, you can also trim and make them yourself with a small curl bundle.
Wig needles and crochet hooks are used to sew or crochet wigs onto wig caps.
Scissors and combs are used for styling, trimming, and tidying hair.
T-pins or clips are used to secure wig mesh caps to prevent movement.
Highly recommend preparing a dummy head model. With it, it is more convenient to sew and adjust wigs.
In terms of hair types for wig materials, beginners recommend high-temperature silk, which is low in price and easy to operate; Experienced users can choose to use real hair, which is more natural and durable. Choose large curls, small curls, or natural waves according to your face shape, and it is recommended to coordinate with the texture of your hair.
 DIY Steps
How to diy a front bang curly top wig? Here are the steps.
Step 1: Secure the wig mesh cap
Wear the mesh cap on the dummy head model. Then adjust it to the appropriate position. Use a pin to secure it tightly around the edges, make sure that it will not slide during crochet or sewing afterwards. And fix it around with a T-shaped needle to make it stable. If there is no dummy head model, you can place the mesh cap directly on your head for basic fitting, but be extra careful during styling or sewing. However, it will be slightly inconvenient. If it is a top wig piece, only the top area needs to be fixed.
Step 2: Sew curly hair patches
Start sewing from one side or the back, depending on the cap design. Each row needs to keep a spacing of about 1cm. Each layer overlaps slightly to enhance the thickness. The closer it is to the forehead, the density of curly hair can be slightly reduced. Its naturalness can be increased. Pay attention to maintaining even distribution, so that the wig will be made to be full and natural. Use your hands to arrange the hair direction for each stitch, making sure that the hair naturally falls.
Step 3: Top Collapse and Organization
When sewing close to the top, the curls can be sewn more densely to enhance the fluffiness. If you want to create a three-dimensional styling, you can form a circular gathering point at the center of the top. That is to enhance visual height. Cut a few moderately long hair clips as bangs and sew them on as needed. You can use a curling iron to slightly adjust your bangs’ curvature, allowing they to naturally arch or fit your forehead.
Step 4: Sew on the wig clip
Sew small wig clips evenly around the bottom of the net, especially at key fixed positions such as the front, middle, and back. That is to ensure that they are securely fastened and not easily slipped off when worn.
Step 5: Trimming and shaping
After putting on the DIY wig top, make detailed adjustments to the overall appearance. Use scissors to trim any excess ends or lightly thin out the hair to adjust the overall thickness. That makes it seamlessly blend with your hair. It is recommended to use hair wax or spray for slight shaping to maintain curl and a fluffy feeling.
 Recommendation
Through the above detailed introduction, I believe you have mastered the core methods of how to DIY a front bang curl top wig. DIY can save costs, create personalized styles, and show hands-on skills and aesthetic standards. Through the above steps, even beginners can easily complete it. If you find manual operation complicated, you can also choose semi-finished wigs for personalized cutting, as it is easier to complete the styling transformation. ALIPEARL is a trusted brand specializing in wigs. Feel free to explore their site for inspiration and comparison.


 Sign In With Google
 Sign In With Facebook